GEOANIMATOR JOURNAL
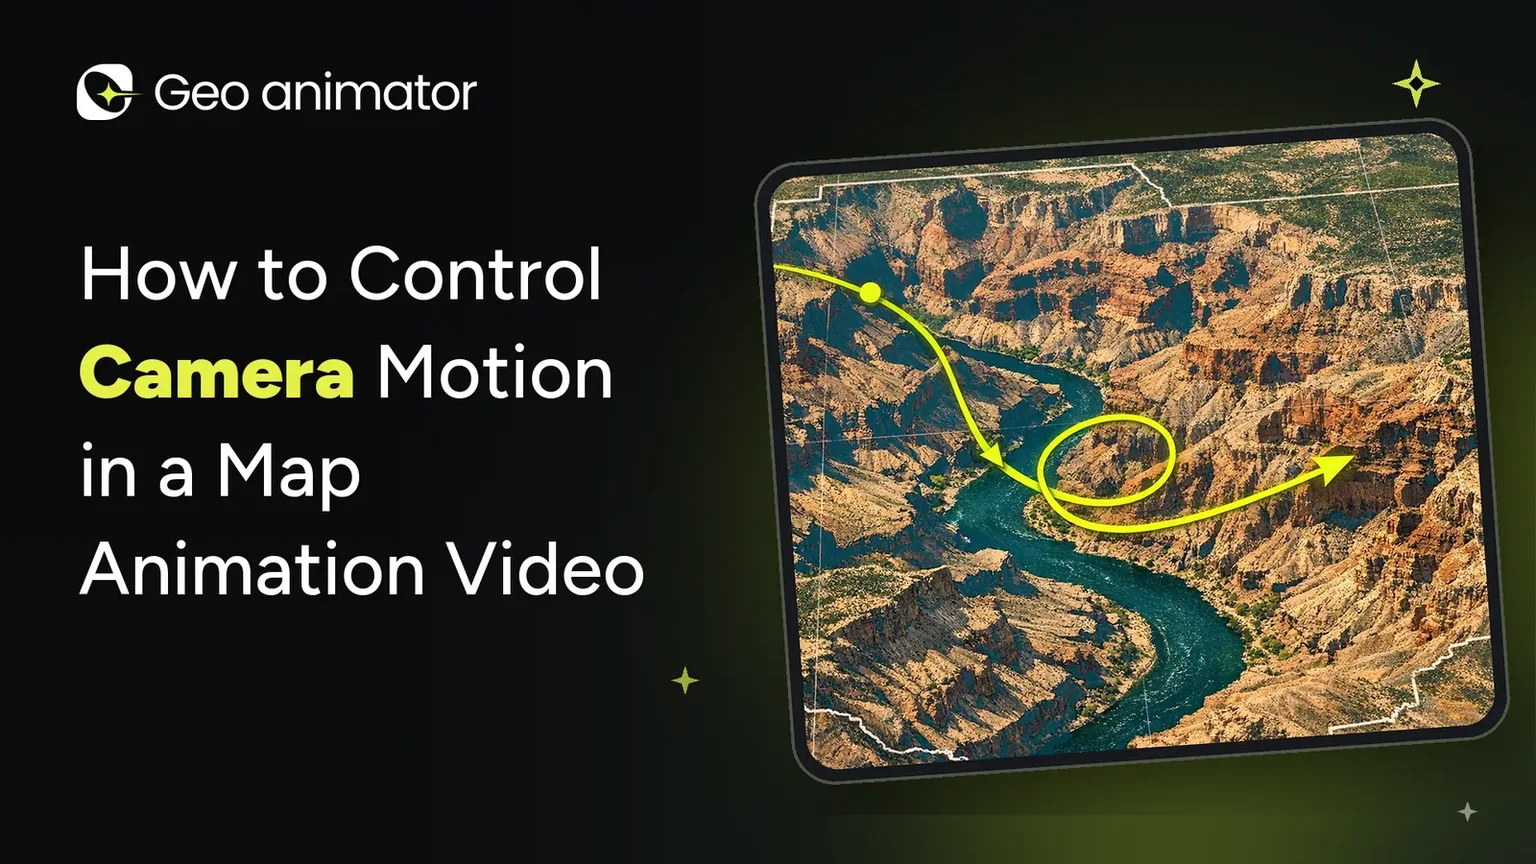
How to Control Camera Motion in a Map Animation Video
Learn how to control camera motion in a map animation video on Android: Push, Drift, Orbit, keyframes, transitions and timing. Step-by-step guide.

In this article7 sections
Two map videos can show the same country, with the same colours and the same text, and one of them feels like a documentary while the other feels like a slideshow.
The difference is almost always the camera.
Camera motion decides where the viewer looks, how fast they get there, and how the scene feels once they arrive. Get it right and a simple highlight becomes a story. Get it wrong and people feel seasick or lose the place you were trying to show.
This guide explains how to control camera motion in a map animation video using GeoAnimator, the Android map animation app from Lascade. You’ll learn the three kinds of camera hold, the three transitions, how keyframes work, and the timing choices that make movement feel deliberate.
The three camera holds
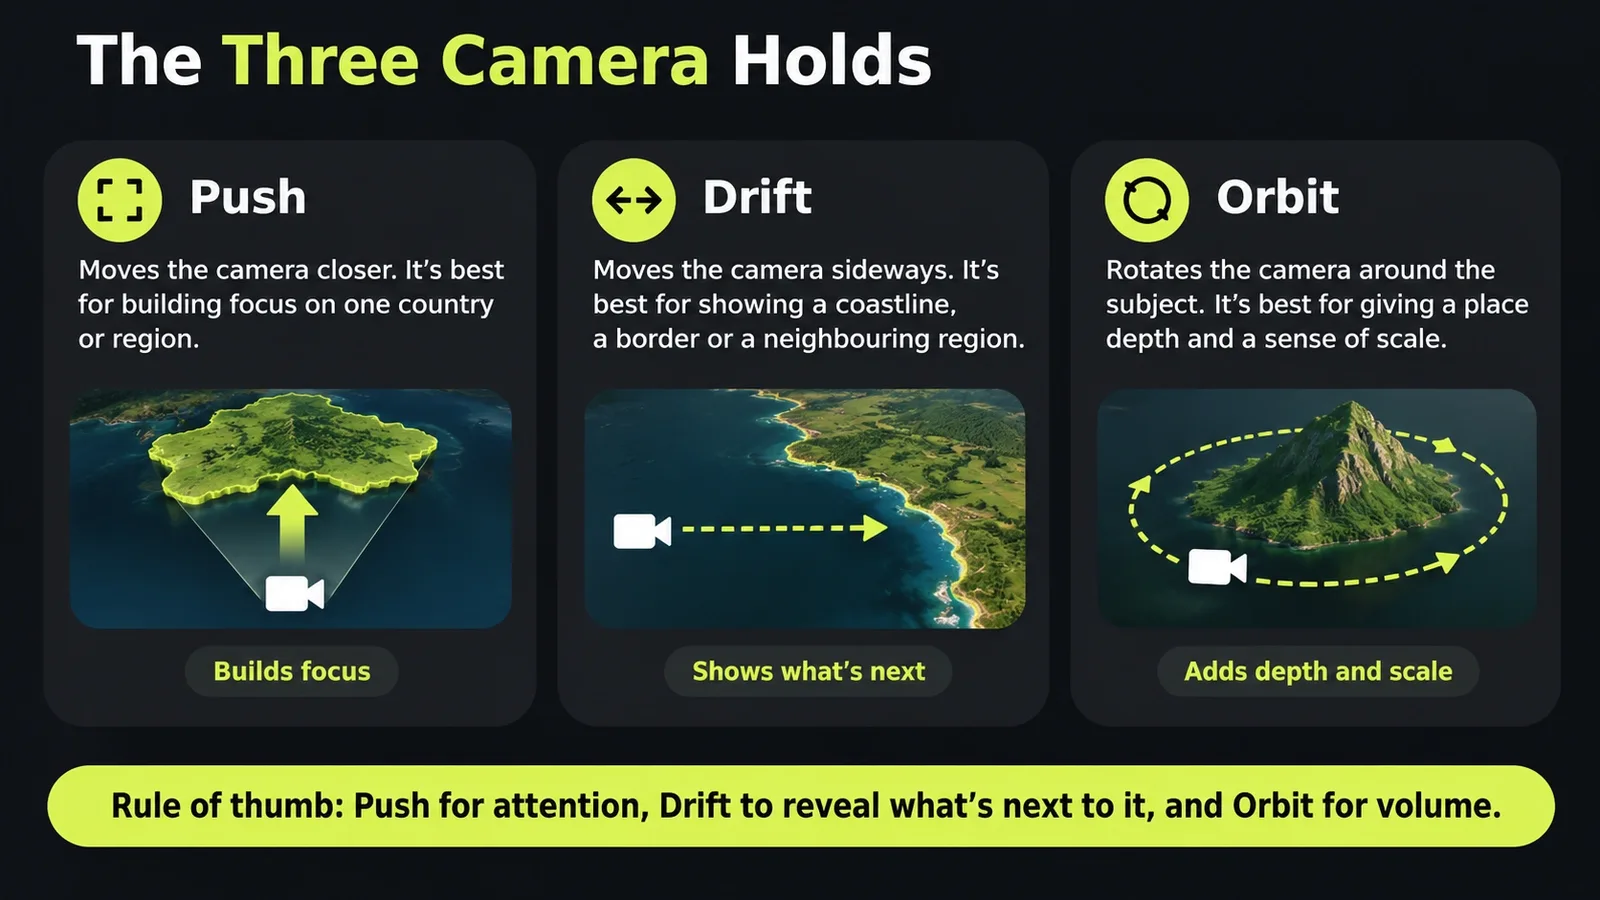
A hold is what the camera does while it’s sitting on a shot. Even when you aren’t “moving” anywhere, a gentle hold keeps the scene alive.
Push moves the camera closer. It’s best for building focus on one country or region.
Drift moves the camera sideways. It’s best for showing a coastline, a border or a neighbouring region.
Orbit rotates the camera around the subject. It’s best for giving a place depth and a sense of scale.
A good rule: use Push when you want attention, Drift when you want to reveal what’s next to something, and Orbit when you want the viewer to feel the place has volume.
The three transitions
A transition is how the camera travels from one scene to the next.
Orbit swings around as it moves, which suits a change of region with a sense of sweep.
Arc follows a curved path, which feels smooth and cinematic for a move between two places.
Bounce adds a lively overshoot, which suits upbeat, social-style videos.
Pick one transition style and stay with it for most of the video. Mixing all three in a short clip makes the movement feel random.
Pitch, zoom and rotation: the three dials
Every camera keyframe is built from three controls.
Zoom sets how close the camera is. Wide zoom shows context, tight zoom shows detail.
Pitch sets the tilt. A flatter view reads like a map, a steeper tilt reads like a flyover.
Rotation turns the map. It changes which direction is “up” and can make a route or border feel more dynamic.
Change one at a time while you learn. If you change all three at once between two keyframes, it’s hard to tell which one made the shot work or fail.
Step-by-step: how to control camera motion in your map animation
Install the app and start a project. Get GeoAnimator from Google Play and start a new project. Choose your aspect ratio (16:9, 9:16 or 1:1) first, because framing changes with it.
Search for your country or region and style its fill with a colour, pattern, flag or image.
Choose a reveal such as Fade, Flood, Wipe or Chase, so there is something for the camera to move towards.
Add camera keyframes for zoom, pitch and rotation, and pick a hold and a transition.
Add text, labels and images, then arrange everything on the layered timeline so each element has its own clip.
Press play on the left of the timeline to preview the whole sequence, then adjust keyframes until the motion feels right.
Export your video in the format that fits your platform.
For a full worked example of one move, see the map zoom effect tutorial.
Start wide, finish close
The most reliable camera move in map storytelling is also the simplest: begin with the whole world, then travel toward one place.
That shape works because it answers two questions in order. First, where in the world is this? Then, what is it like up close?
A simple version looks like this:
Keyframe 1: wide zoom, flat pitch, showing the globe or a continent.
Keyframe 2: medium zoom, slight tilt, approaching the country.
Keyframe 3: tight zoom, your reveal landing as the camera settles.
You can run a Push through the whole sequence, or use an Orbit transition between the wide and close shots for more sweep.
Match the camera to the story
Different stories want different movement.
Geography explainers: steady Push moves and flat pitch keep the focus on facts. Pair this with a country highlight map.
Travel stories: Arc transitions between stops feel like a journey. Add a route to your map animation so the camera has a path to follow.
History videos: slow Drift along a border helps viewers see how regions sit beside each other.
Social clips: Bounce transitions and quick clips suit short vertical videos.
Documentary-style visuals: a slow Orbit with a tilted pitch gives a cinematic feel.
Timing: the part most people skip
Camera motion is timing as much as direction.
Slow is usually better. Fast moves are harder to follow, especially on a phone.
Hold before you move. Give each scene a moment of stillness so the viewer can read what’s on screen.
Land before you reveal. Let the camera settle, then bring in the highlight or text.
Keep your pace consistent. If every move takes three seconds, the video feels calm. If they vary wildly, it feels chaotic.
The timeline is where this happens. Because camera motion, regions, text and travel sit on separate layers, you can adjust the camera’s clip without disturbing the rest.
Make camera motion work with your other elements
With text: don’t change the camera while a caption is being read. Let the text finish, then move.
With images: bring a photo in after the camera lands. Our guide to adding images to your map animation covers placement.
With flags and fills: a closer camera shows pattern and flag detail more clearly. See highlighting countries with flags.
With music: line up your biggest camera move with a beat. Add music to your map animation once the movement is set.
Keep it readable on a phone
Most map videos are watched vertically, at arm’s length, often without sound.
Don’t zoom out too far. Place names shrink quickly on a small screen.
Keep tilt moderate. Steep pitch distorts labels and makes borders harder to read.
Check rotation. A rotated map can make text hard to read, so test labels after you turn the view.
Preview at phone size before you export.
Choose camera movement by aspect ratio
The app supports 16:9, 9:16 and 1:1 projects.
16:9 landscape gives sideways Drift moves plenty of room.
9:16 vertical suits Push and tilt moves that travel up and down the frame.
1:1 square is a safe middle for social posts.
Set your format before you build camera moves, because the same keyframes frame a scene very differently in each shape.
Where to go next
More tutorials in the GeoAnimator Journal
Ready to try it? Download GeoAnimator and rebuild one scene you already have with a slow Push and an Arc transition. It’s the quickest way to feel the difference camera motion makes. You can also see what the app can do on the GeoAnimator homepage.
Frequently asked questions
How do I control camera movement in a map animation?
In GeoAnimator, add camera keyframes on the timeline and set zoom, pitch and rotation for each one. Choose a hold (Push, Drift or Orbit) and a transition (Orbit, Arc or Bounce), then preview with the play button.
What is the difference between a hold and a transition?
A hold is how the camera behaves while it stays on a scene. A transition is how it travels to the next scene.
How do I make a map zoom from the world to a country?
Set a wide keyframe first, then a tighter one on your country, and use a Push or an Arc transition between them. The map zoom effect tutorial walks through it.
What are camera keyframes?
A keyframe stores the camera’s zoom, pitch and rotation at a point in time. The app moves the camera smoothly between keyframes.
Is camera control free?
You can build and export for free with a watermark. Pro removes the watermark and unlocks all map styles.