GEOANIMATOR JOURNAL
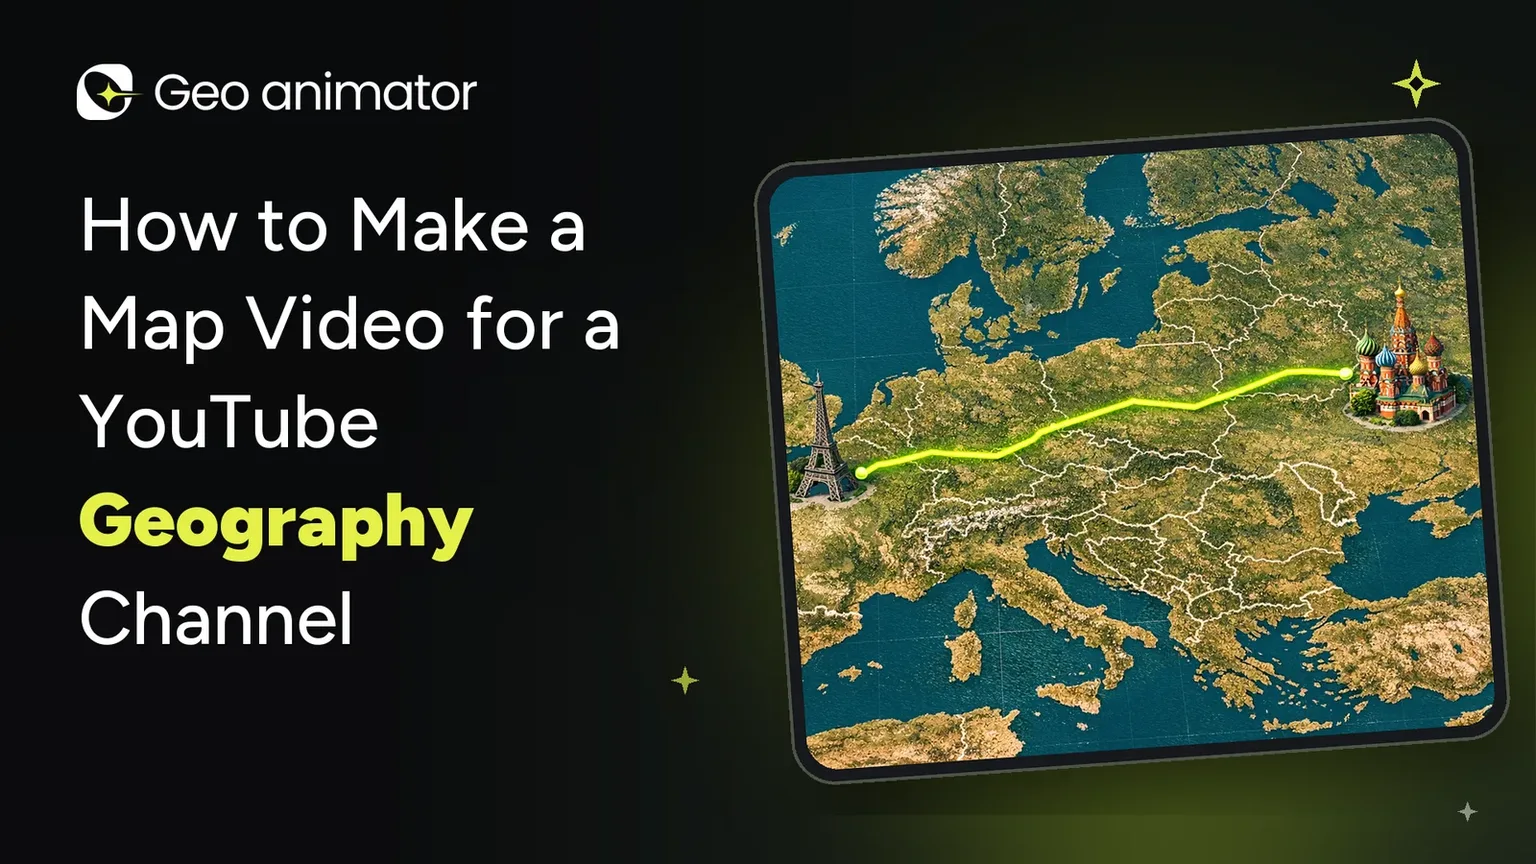
How to Make a Map Video for a YouTube Geography Channel
Learn how to use a geography video maker to create YouTube map videos on Android: zooms, country highlights, text and export. Beginner-friendly guide.

In this article13 sections
- 01What a geography video maker should do
- 02Plan the video before you open the app
- 03Step-by-step: build a map shot in GeoAnimator
- 04Five shots every geography channel uses
- 05How to get that documentary look
- 06Text that helps instead of clutters
- 07Use images to prove your point
- 08Music and pacing
- 09Combine your map clips with your narration
- 10Make Shorts from the same work
- 11Common mistakes to avoid
- 12Where to go next
- 13Frequently asked questions
Think of the last geography video you finished watching. Chances are the map did half the talking. A country glowed, the camera pushed in, a border appeared, and suddenly a complicated fact made sense in three seconds.
That’s the real job of a map in a YouTube video: it’s the part viewers remember.
The good news is you no longer need a desktop editor and a week of keyframing to get that look. A geography video maker on your phone can do it. In this guide, I’ll walk through how to plan, build and export map videos for a YouTube geography channel using GeoAnimator, an Android app from Lascade built for exactly this kind of work.
What a geography video maker should do
Not every tool suits a geography channel. Before you commit, check that it can do these things:
Move the camera on purpose. You need to start wide and zoom to a country, not just show a still image.
Highlight places clearly. Countries and regions should fill with a colour, pattern, flag or image, with borders you can control.
Reveal things with style. A highlight that fades in or sweeps across feels far more polished than one that just appears.
Handle text. You’ll want place names, titles and short facts on the map or on screen.
Show a timeline. Geography videos are sequences, so you need to control when each element appears.
Export for YouTube. That means 16:9 landscape, with vertical options for Shorts.
GeoAnimator covers all of these. If you want to compare it against other kinds of tools first, our guide to choosing a map animation maker lays out the options.
Plan the video before you open the app
Here’s the mistake almost every new geography creator makes: they start animating before they know what the video says.
Spend ten minutes on a simple plan first:
Write the one-sentence promise. For example, “Why does Russia span 11 time zones?”
Break your script into beats. Each time you mention a new place or idea, that’s a shot.
Decide what the map shows at each beat. A zoom? A highlight? A comparison? A route?
Keep each map shot short. Most work well at a few seconds, long enough to read and short enough to hold attention.
A script with twelve beats needs about twelve small map moments. That’s very manageable, and it keeps your project organised.
Step-by-step: build a map shot in GeoAnimator
Here’s the basic loop you’ll repeat for every shot.
Install the app and start a project. Download GeoAnimator from Google Play and begin a new project, or start from a template.
Choose 16:9. The app supports 16:9, 9:16 and 1:1, and 16:9 is the one for standard YouTube videos.
Search for your country or region. Pick the place your narration is about.
Style the fill. Choose a solid colour, pattern, flag or image, and set the border colour separately.
Pick a reveal. Fade, Flood, Wipe or Chase decide how the highlight appears. Adjust the direction, speed, intensity and softness.
Add camera keyframes. Set zoom, pitch and rotation, then choose a transition such as Orbit, Arc or Bounce.
Add text. Place a label on the map or on screen, or pin it to a location.
Preview on the timeline. Press play on the left of the timeline and check the pacing.
Export the clip. Once it looks right, export it as a video.
Do that for each beat, and your map section is done.
Five shots every geography channel uses
Most geography videos are built from a small set of repeating shots. Learn these and you can cover almost any topic.
1. The world-to-country zoom. Start on the globe, then push into your subject. It answers “where is this?” before the viewer even asks. Our map zoom effect tutorial shows exactly how to build it.
2. The country highlight. Fill a country, reveal it, and let the camera settle. This is the bread and butter of geography videos. The country highlight map guide covers fills, borders and reveals in detail.
3. The flag shot. Fill a country with its flag so viewers connect the shape to the name. See how to highlight countries with flags.
4. The comparison. Highlight two or more places in turn, so viewers see differences in size, location or neighbours.
5. The journey. Trace a route between places for explorer stories, trade routes or migration. Our guide to adding routes to a map animation walks through it.
If your channel leans toward the past, such as empires, wars or changing borders, a history map animation is the shot you’ll lean on most.
How to get that documentary look
Documentary-style map visuals have a particular feel: slow, confident and a little cinematic. You can get there with three habits.
Slow your camera down. Fast moves feel like a tutorial. Slow, steady Push or Drift moves feel like a documentary.
Add a little tilt. A modest pitch gives the map depth without making labels hard to read.
Hold before you move. Give each shot a beat of stillness so the viewer can take it in.
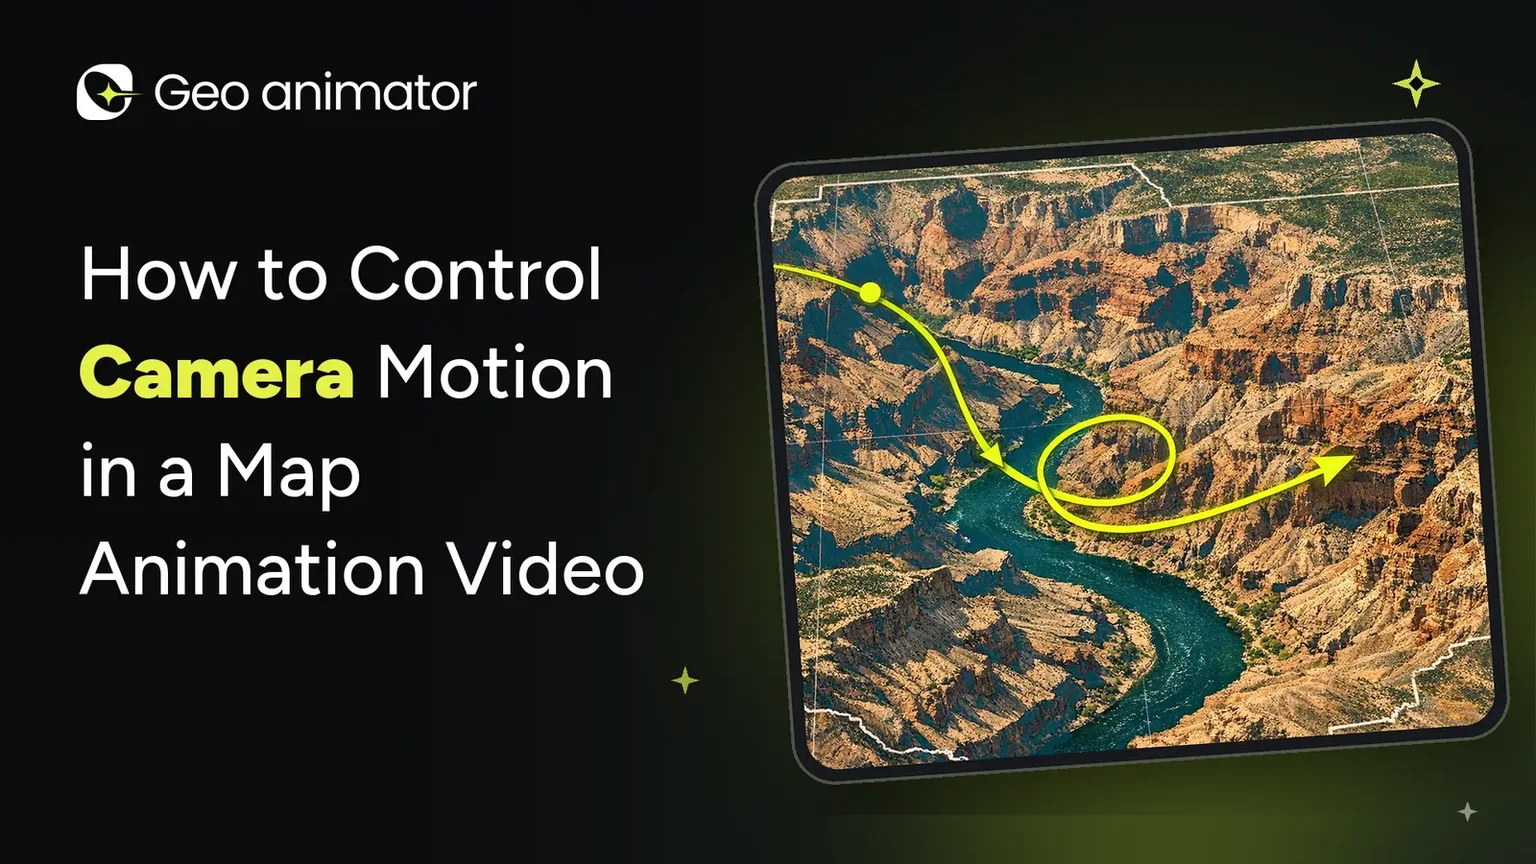
For more on holds, transitions and timing, read how to control camera motion in a map animation video.
Text that helps instead of clutters
Map videos can get crowded quickly. A few rules keep them clean:
Label only what you’re talking about. If your narration doesn’t mention it, leave it off.
Keep text short. A place name or a single number is usually enough.
Time it with your voice. Let the label appear as you say the name, not before.
Check readability. Zoom out too far and place names shrink to nothing.
On-screen text and map text are both available in the app, and you can pin text to a location so it stays attached to the place.
Use images to prove your point
A photo can do what a coloured shape can’t. A picture of a mountain range beside a highlighted country tells viewers something a label never will.
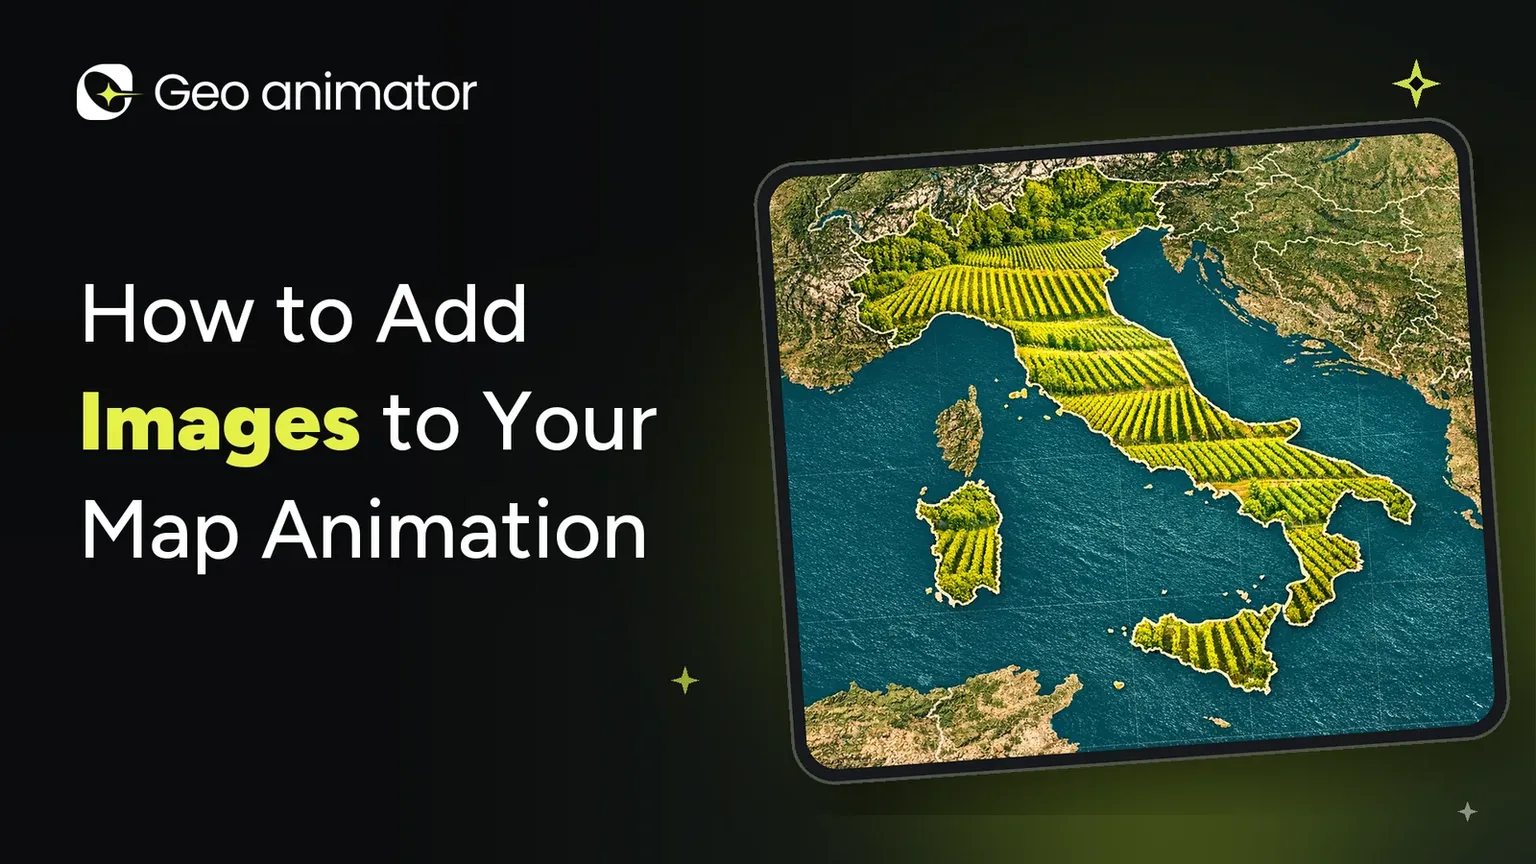
You can place images on the map as layers, or use an image as a region’s fill. The guide on how to add images to your map animation explains when to use each. Just make sure you have the rights to any photo you use, and credit sources where needed.
Music and pacing
Music turns a series of clips into a video with a rhythm. Once your shots are in place, add music to your map animation and line up your biggest camera move with a beat.
If you’re adding your own voiceover, keep the music low enough that your narration is easy to follow.
Combine your map clips with your narration
Here’s a simple workflow many creators use:
Record or write your narration.
Build one map clip per beat in GeoAnimator, timing each to roughly match your script.
Export each clip as a video.
This keeps the map work in the app where it’s fastest, and the final assembly in whichever editor you already know.
Make Shorts from the same work
One advantage of building in a phone app is how easy it is to reuse your work. The app supports 9:16 vertical projects, so you can turn your best map moment into a Short. Pick the single most striking shot, such as a dramatic zoom or a surprising comparison, and give it a punchy caption.
For more on formats, see map animations for video.
Common mistakes to avoid
Zooming too fast. If viewers can’t follow the move, they’ll miss the point.
Too much on screen. One idea per shot is plenty.
Forgetting phone viewers. Many people will watch on small screens, so check that names are readable.
Skipping the preview. Always play the full sequence before exporting.
Ignoring consistency. Pick a colour scheme and stick to it across the video.
Missing the watermark. Free exports carry a watermark, while Pro removes it and unlocks all map styles. Check the app for current plans.
Where to go next
Compare options in Map animation maker: how to pick one and make a clip
See a full example in Animated map of the United States
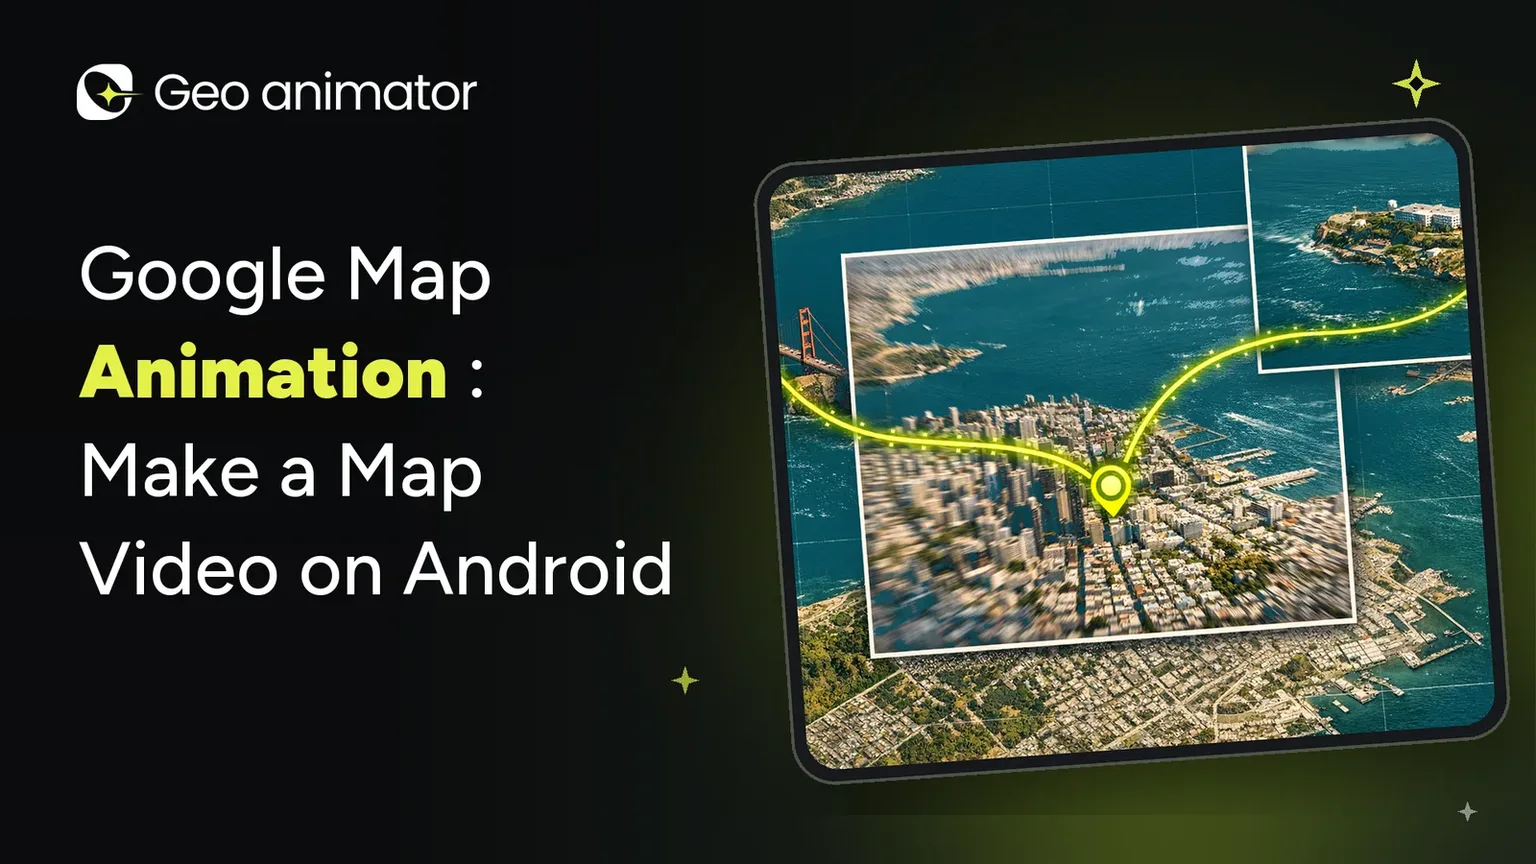
Learn about Google map animation on Android
Follow the step-by-step map animation guide
Browse every tutorial in the GeoAnimator Journal
Explore the app’s features on the GeoAnimator homepage
Ready to try it? Download GeoAnimator and build one map shot for your next video. Start with a simple world-to-country zoom. It’s the quickest way to see how much a good map adds.
Frequently asked questions
What is the best geography video maker for YouTube?
It depends on how you work, but you want one that moves the camera, highlights countries with reveals, handles text, and exports 16:9. GeoAnimator does all of this on Android.
How do I make a map video for YouTube?
Plan your script, build one map clip per beat in a map animation app, export each as a video, and combine them with your narration in your editor.
Can I make map videos on my phone?
Yes. GeoAnimator is an Android app, so you can build and export map videos on your phone.
What aspect ratio should I use for YouTube?
Use 16:9 for standard videos. The app also supports 9:16 for Shorts and 1:1 for social posts.
Can I make documentary-style map visuals?
Yes. Use slow Push or Drift moves, a little tilt, and short holds between shots. The camera guide linked above covers this in more detail.